Any question about the article?
Please use your work e-mail, so we can connect with you
Saltwater fishing can only be a great experience if you prepare well and know precisely what you must do to succeed—that is exactly my goal in this article. I will walk through the importance of choosing the right rigs to better prepare you for success on the water.
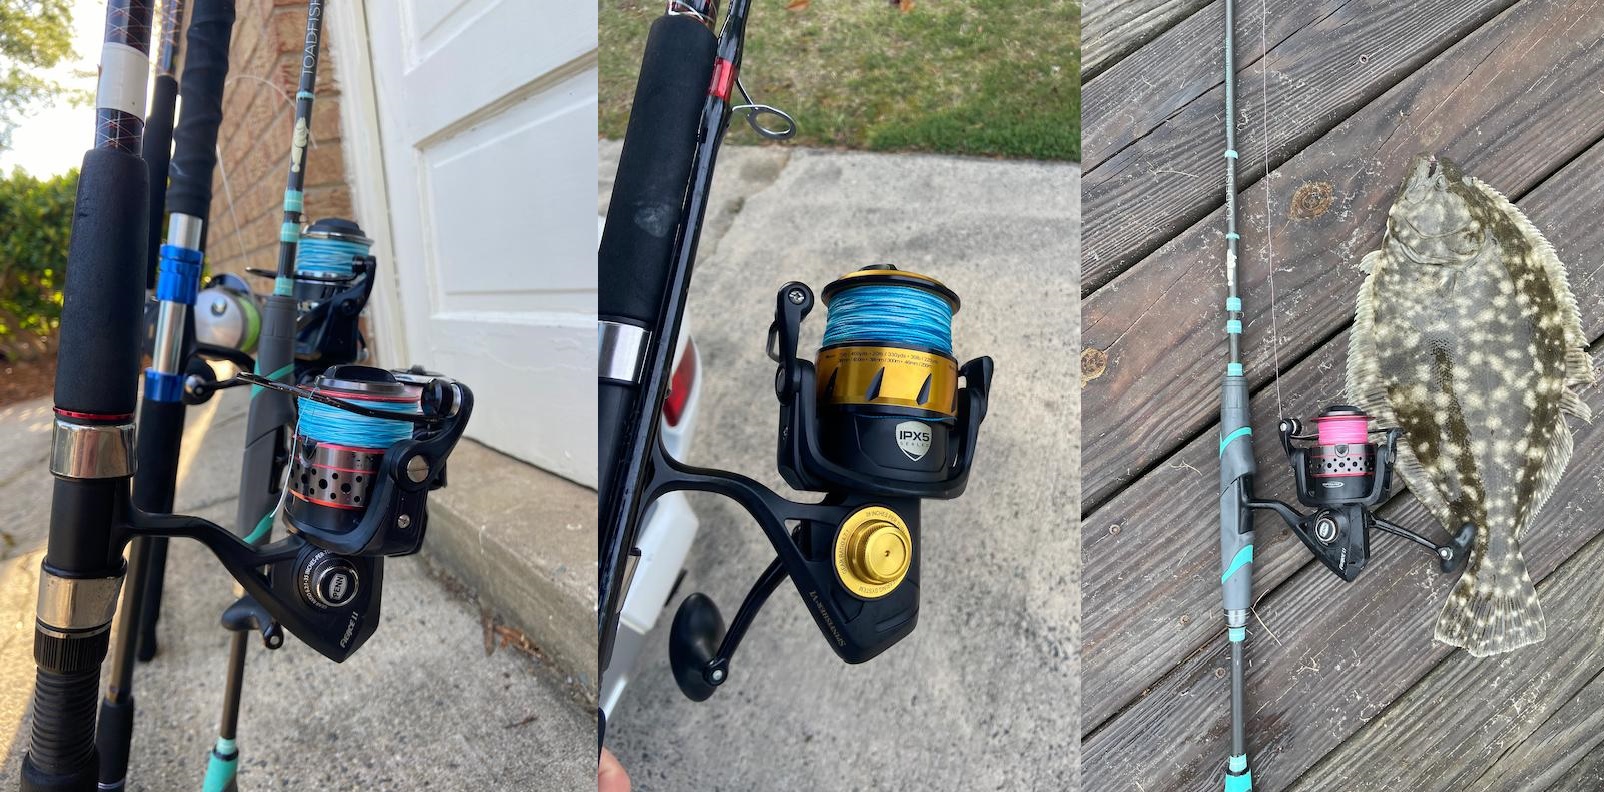
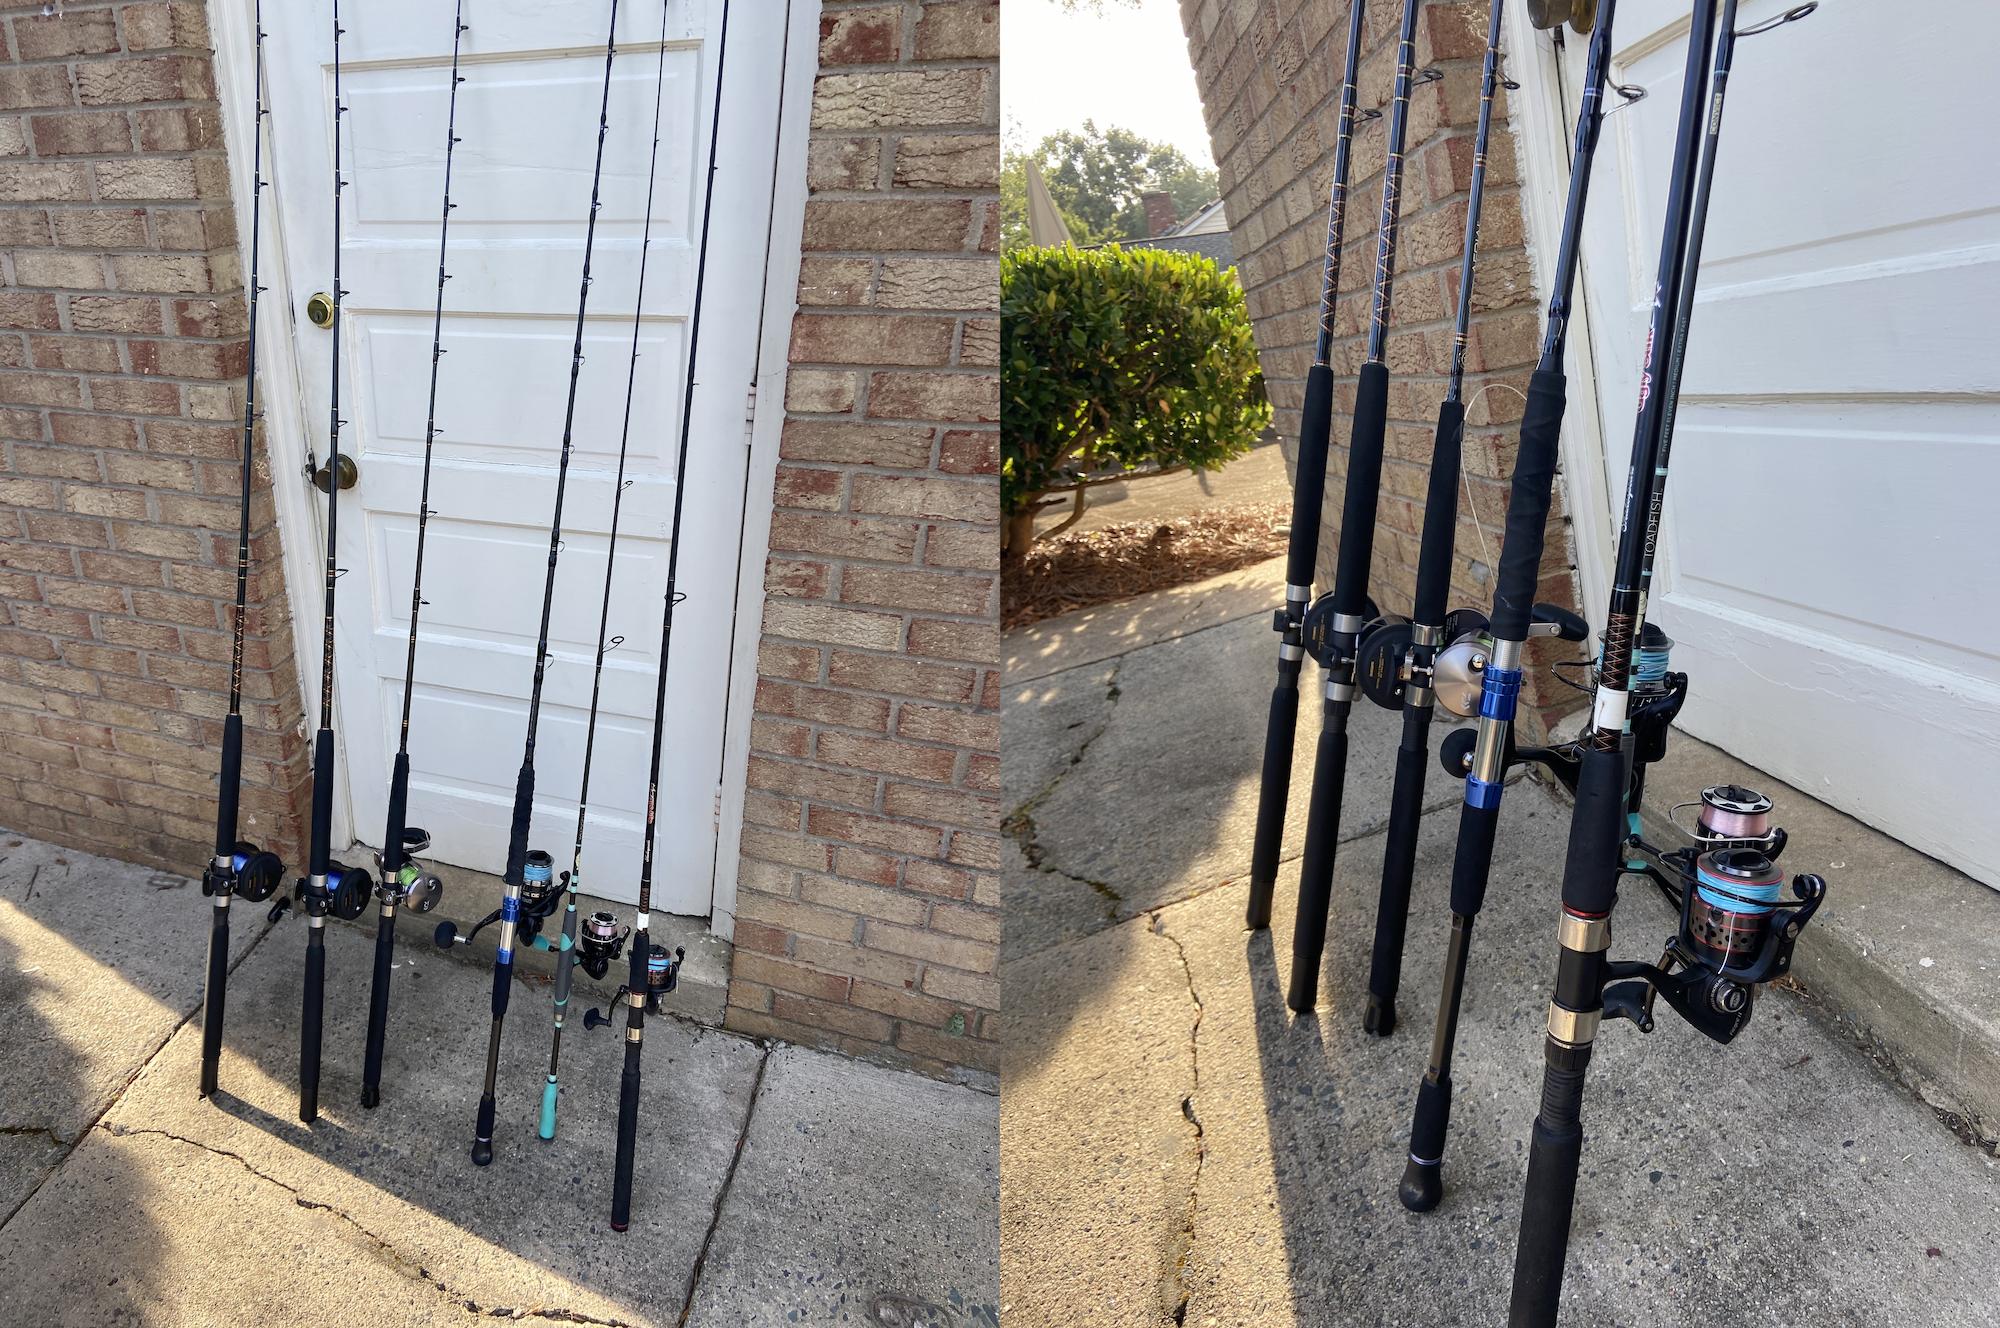
Choosing the right rig is everything—and so is making it correctly. There are tons of different rigs for different species across the ocean, and we will break some of them down here.
Before we jump into the article, I want to mention a fishing technology that has been a game-changer for me: the Fishbox App. The Fishbox App is your all-in-one fishing destination, providing all the information you need to find and catch fish.
It takes in all sorts of metrics that affect the bite and compiles them into one comprehensive bite score that’s easy to follow. Additionally, you can even take your personalized fishing quiz to help you out on the water.
So don’t wait any longer—take the quiz today.
Other than the type of fishing you’re doing, your target species is one of the biggest factors in determining the rig you should use. For example, a grouper rig should differ from your triggerfish or other small bottomfish rigs because of the species and how they fight.
A top-and-bottom rig might be better if you’re strictly meat fishing for small bottom fish. But I’d probably go with a knocker or Carolina rig when you’re targeting that one large grouper. These are all things you need to consider when planning a fishing trip.
Does my target species have teeth? What kind of leader should I be using? What does that fish tend to do when hooked? Where does the fish live? You need to know the answers to these questions when making saltwater fishing rigs.
Sure, there are times when the rig choice is less important than others, but often, the difference between a good and a great day of fishing comes down to preparation—including your rigs.
The location of where you are fishing often plays an integral part in what kind of rig you should be using. Let’s break this down more.
Read also: Deep Sea Fishing: A Comprehensive Guide for Beginners and Enthusiasts
In addition to where you are fishing, the type of bait you want to use should, in theory, also help you select what kind of rig to use while fishing in saltwater.
Description: The fish finder rig is a great rig for using in the surf when wanting to present some kind of live bait. The bait doesn’t feel the sinker holding it back, so it can freely swim.
Ideal Use: This rig’s ideal use targets fish on the bottom feeding on live bait.
How to Tie/Set-Up: Slide a sinker slider onto the main line to tie this rig. From here, slide a bead on after and then tie the main line to the swivel. From here, tie on the desired leader and hook; you’re ready.
Pros: One of the biggest pros to this rig is its ability to present bait very naturally and free swimming. This rig is also great for surf fishing as it yields minimal tangles and is often used with a pyramid sinker so that the bait stays in the water. Lastly, the rig is extremely easy to make and has minimal line twists.
Cons: The only real con to the fish finder rig is that it can get caught on rocky bottom fairly easily, most often due to the pyramid sinker that sits on the bottom.
Recommended Gear: Some sort of surf combo that matches the weight you are tossing out.
Description: It is probably one of the most popular saltwater fishing rigs, if not the most popular. Perfect for catching anything on the bottom with either live or dead bait.
Ideal Use: The ideal use targets species that feed on the bottom, such as flounder, redfish, and black drums.
How to Tie/Set Up: Put your ¾ ounce egg sinker on your main line to tie this rig, followed by a bead. Tie your swivel to the main line and then tie that to the leader and a hook from there.
Pros: This rig is great for both live and dead bait presentation and is almost impossible to get tangled.
Cons: You obviously can’t cover anything at the top of the water column off the bottom, and the pinfish can easily get to bait on these rigs—especially dead baits.
Recommended Gear: Any inshore spinning combo.
Description: This rig is a glorified bobber rig for inshore saltwater fishing.
Ideal Use: This rig is great for targeting trout and redfish with live bait in shallow water near weeds or structures underwater.
How to Tie/Set Up: To tie this rig, put a bobber stopper on your line, then add on your popping Cork. From here, tie on your hook and add an appropriate size splitshot somewhere above the hook to get the bait down quicker.
Pros: This rig is super effective at covering ground because it just goes with the current. It is also lethal in terms of live shrimp presentation.
Cons: The only con to this rig is that your bait often gets stolen fairly easily, and you have to leave a lot of slack in your line when letting these things drift, which results in more missed fish. Casting distance is also limited.
Recommended Gear: Some sort of lighter, inshore spinning combo.
Description: As you can see from the title, this rig is very popular and goes by many different names. This rig is great for fishing two areas of the water column and allows for bait interchangeability and adjustment.
Ideal Use: The ideal use of a top and bottom rig is to find fish wherever you are fishing. You just want action with this rig or are at least expecting it. This rig can be fished from the surf, pier, or boat.
How to Tie/Set Up: To be quite honest, I don’t even know how to tie/set-up these rigs because I have always bought them. Even looking at pictures online, I don’t feel comfortable describing it because I don’t want to mislead you guys.
Pros: There are more hooks in the water, and you can also run different baits on the hooks to see where the fish are (if they are holding on to the bottom or not) and what bait they prefer to eat.
Cons: This rig is fairly hard to make and gets tangled easily—especially if you are casting it a long way.
Recommended Gear: This rig can be used on virtually anything, so I can’t say anything specific.
Description: The knocker rig is an extremely simple rig in which the movement of a live bait is the goal.
Ideal Use: The ideal use of the knocker rig is when targeting bigger bottom fish that can be finicky about free swimming live baits. This rig is best fished from a vertical position, such as when dropping down on a reef or a wreck.
How to Tie/Set Up: To set up this rig, slide your egg sinker on, then a bead, and then tie straight to your hook (often a circle hook if you are bottom fishing with live bait).
Pros: One of the pros of this rig is that it is extremely simple and straightforward. In addition, the rig doesn’t ever really get tangled.
Cons: Oftentimes, the eggsinker can get snagged in the rocks. Another con is that the bait can, in theory, continue to run further from the weight, potentially snagging itself since there is no swivel to stop the weight on this rig. This rig also moves around a ton in the current since you are using an egg sinker.
Recommended Gear: A heavier bottom fishing set up (can be conventional or spinning).
Description: The three-way rig is exactly what it sounds like. The rig goes three ways and is ideal for keeping your bait and weight apart.
Ideal Use: This rig is very helpful when fishing tighter cover such as rocks and reefs and is also said to prevent tangles.
How to Tie/Set-Up: Tie this rig straight from your main line to a three-way swivel. From one end of the swivel, tie some leader to your weight; at the other end of the three-way, tie some leader to your hook.
Pros: This rig keeps the bait very stable in the water and is ideal when using live bait. Additionally, it is super easy if you ever need to swap out the weight.
Cons: I have had difficulty untangling these rigs, especially using live bait. The live bait always tends to wrap itself about the sinker or mainline for whatever reason.
Recommended Gear: This is a fairly versatile rig, so it’s hard to recommend a specific gear.
Description: The drop shot rig is designed to suspend the bait just off the bottom and is ideal for inshore fishing.
Ideal Use: The ideal use is fishing up close and personal with structures such as pilings or docks since you have immense control over this rig. It is most effectively used when it can fish straight up and down vertically.
How to Tie/Set Up: To tie this rig, go from your mainline to some kind of leader (I like to use fluorocarbon connected with a double uni knot), then a few inches below, or however far off you want the hook from the weight, use a Palomar knot to tie the hook. Use the tag end and create a loop for your drop shot weight from there.
Pros: The biggest pro of this rig is that the bait is continually sitting in the zone where the fish are—or at least where you expect them to be. You also have great control over the rig, which is very sensitive. Lastly, the drop shot rigs also very rarely get snagged.
Cons: Some of the cons are that you can’t fish this rig very well currently, and you can’t cast far at all due to the nature of the rig.
Recommended Gear: A lighter inshore combo with a good bit of sensitivity.
One of the biggest mistakes I see people make is overcomplicating rigs or using completely unnecessary set-ups for the situation. The right rig isn’t about maximizing the number of hooks—it’s about tailoring the rig to the target species and the specific location you’re fishing.
Another common mistake is using the wrong strength tackle when buying or making rigs. I recommend researching your target species to determine the appropriate line strength. Sure, it’s easier to grab a premade rig from the store, but you still need to make sure it’s rated for the conditions and fish you’re after.
The last mistake I want to highlight is using one rig to handle multiple big fish simultaneously. For example, don’t use a chicken rig if you’re fishing for a large grouper on the bottom. You need to realize that two big fish pulling in different directions will put way too much strain on the rig. Trust me, it’s better to land one fish than lose them both.
One of the best tips I can offer for rigging faster and more efficiently is to make your rigs ahead of time. You don’t want to be in the middle of a hot bite and have to stop to re-rig your gear if you get broken off—let alone take the time to build a new rig on the spot.
I also recommend building your rigs in batches by completing one step at a time across all of them. For example, start by tying the swivel to the leader on each rig, then move on to the next step for all of them. This assembly-line approach can save time and keep you fishing longer when it counts.
Every time you catch a fish on any rig—whether handmade or store-bought—you need to inspect it for potential failures, like chafing or weakened knots. You never know when a knot might slip, pull, or wear down. It’s far better to replace a compromised rig than risk hooking a big fish and losing it due to a preventable failure. Likewise, when you first make or purchase your rigs, give them a firm tug (within the strength they’re rated for) to ensure everything holds up and is solid.
I’d say the best two rigs for surf fishing (since I couldn’t pick just one) are the top-and-bottom rig and the fish-finder rig. It depends on the conditions, but the top-and-bottom rig is fantastic for seeing what’s in the surf. If you start catching bigger fish—or know that larger fish are present—I’d recommend switching to the fish-finder rig. Live bait also performs better on the fish-finder rig, with more natural action and less chance of tangling than the top-and-bottom rig. All in all, I highly recommend both of these set-ups for surf fishing.
Read also: A General Overview of Surf Fishing
I’d recommend two rigs for deep sea bottom fishing: the chicken and knocker rig. This follows a concept similar to what I mentioned earlier about surf fishing. The knocker rig gives you a clear advantage when using live bait for species like grouper and snapper, as it allows the bait some room to swim and move naturally. On the other hand, chicken rigs are excellent for meat fishing—you can simply slap some squid chunks on the hooks and catch fish if they’re down there. Just keep in mind that chicken rigs are more prone to tangling compared to knocker rigs.
The two rigs I’d recommend for pier and jetty fishing are the popping Cork and the Carolina rig. The Carolina rig is great for using live or dead bait on the bottom to target fish holding deeper in the water column. On the other hand, the popping cork rig is ideal for targeting species near the surface using bait like live shrimp or mud minnows. You can easily drift these rigs past pier pilings or along jetties for the best chance of success.
Of all the rigs mentioned in this article, I’d say the top-and-bottom rig is the most versatile. It works across many different types of fishing and can yield success in nearly all of them. You can fish multiple baits and hooks simultaneously, which allows for continuous action in most situations—something beginners will appreciate.
I hope you enjoyed reading this article about saltwater fishing rigs and the important process of selecting the right one for the job. Remember, the knowledge to select the right rig often comes with experience—it doesn’t happen overnight. You’ll also need to be okay with experimenting and occasionally failing. If one rig doesn’t fit your specific scenario, try something new. Get creative and have fun with it. As always, good luck and tight lines!
Pierce Latta has been passionate about fishing since the age of three, growing up casting lines in both freshwater ponds around Charlotte, NC, and the saltwater of Ocean Isle Beach. With nearly 16 years of experience, he’s explored almost every style of fishing imaginable, from fly fishing and surf casting to offshore and inshore adventures. Pierce now shares his knowledge and enthusiasm with others, offering tips, techniques, and inspiration to help anglers of all levels discover the thrill of fishing.
![Where and How to Catch Live Bait for Saltwater Fishing [Expert Guide]](https://imgcdn.fishbox.com/wp-blog/wp-content/uploads/2024/03/spanish-mackerel-fishing-pierce-latta-scaled-1-1.jpg)